
The Ultimate Blackstone Hibachi Recipe: Master Japanese Steakhouse Flavors at Home
Are you yearning for the sizzling excitement and mouthwatering flavors of a Japanese steakhouse without the hefty price tag? Look no further! Our comprehensive guide to Blackstone hibachi cooking will transform your backyard into a teppanyaki paradise.
With a Blackstone griddle and our expert tips, you’ll soon be flipping shrimp tails, creating onion volcanoes, and serving up restaurant-quality hibachi meals that will have your friends and family begging for more.
The Art of Teppanyaki: More Than Just a Meal
Before we dive into the culinary techniques, let’s explore the rich history and cultural significance of teppanyaki-style cooking.
Hibachi vs. Teppanyaki: Unraveling the Confusion
Many Americans use the term “hibachi” when referring to the theatrical cooking style seen in Japanese steakhouses. However, this is a common misconception:
- Hibachi (火鉢): Traditionally, hibachi refers to a charcoal-heated brazier used for heating, not cooking. It’s typically small and portable.
- Teppanyaki (鉄板焼き): This is the correct term for the style of cooking you see at Japanese steakhouses. “Teppan” means iron plate, and “yaki” means grilled or pan-fried.
When we talk about “Blackstone hibachi,” we’re actually referring to teppanyaki-style cooking on a Blackstone griddle. This flat-top cooking surface beautifully replicates the large, flat iron griddle used in authentic teppanyaki restaurants.
The Cultural Significance of Teppanyaki
Teppanyaki cooking emerged in post-World War II Japan as a way to appeal to Western palates. It combines traditional Japanese ingredients with a theatrical cooking style that has become a global phenomenon. The communal dining experience and interactive chef performances make teppanyaki more than just a meal—it’s entertainment, art, and cuisine all rolled into one.
Mastering the Blackstone Griddle: Your Ticket to Teppanyaki Success
The key to recreating authentic teppanyaki at home lies in understanding and mastering your Blackstone griddle. Here’s what makes it the perfect tool for the job:
-
Even Heat Distribution: The Blackstone’s flat-top surface ensures consistent heating, crucial for achieving that perfect sear on meats and vegetables.
-
Temperature Control: Multiple burners allow for creating different heat zones, mimicking the versatility of professional teppanyaki grills.
-
Ample Cooking Space: The large cooking surface lets you prepare multiple dishes simultaneously, just like the pros.
-
Durability: The robust construction of Blackstone griddles can withstand the high heat and frequent use required for teppanyaki cooking.
Essential Ingredients: The Building Blocks of Teppanyaki Cuisine
To create an authentic teppanyaki experience at home, you’ll need to stock up on the right ingredients. Here’s a comprehensive list, along with tips on sourcing and potential substitutions:
For the Chicken:
- 2 lbs boneless, skinless chicken breasts, cut into 1-inch cubes
- 2 tablespoons vegetable oil
- Salt and pepper to taste
Pro Tip: For maximum flavor, marinate the chicken in a mixture of soy sauce, mirin, and grated ginger for at least 30 minutes before cooking.
For the Vegetables:
- 1 large zucchini, sliced
- 1 large onion, sliced
- 2 cups mushrooms, sliced
- 1 tablespoon vegetable oil
- Salt and pepper to taste
Vegetable Variations: Feel free to experiment with other vegetables like bell peppers, bean sprouts, or broccoli florets to customize your teppanyaki experience.
For the Fried Rice:
- 4 cups cooked and cooled rice (preferably day-old)
- 2 eggs, lightly beaten
- 1/2 cup frozen peas and carrots
- 2 tablespoons soy sauce
- 2 tablespoons butter
- 2 green onions, thinly sliced
Rice Selection: Long-grain rice varieties like jasmine or basmati work best for fried rice, as they maintain their structure during cooking.
For the Hibachi Sauce:
- 1/4 cup soy sauce
- 1/4 cup mirin (sweet rice wine)
- 2 tablespoons sake (or dry white wine)
- 2 tablespoons sugar
- 1 tablespoon grated fresh ginger
Sauce Variations: For a spicier kick, add a teaspoon of sriracha or a pinch of red pepper flakes to your hibachi sauce.
Where to Source Ingredients:
While most ingredients can be found at your local grocery store, some may require a trip to an Asian market or specialty store:
- Mirin and Sake: Check the international aisle of your grocery store or visit an Asian market. If you can’t find mirin, substitute with a mixture of 3 parts white wine and 1 part sugar.
- Fresh Ginger: Available in most produce sections. Look for firm roots with smooth skin.
- Specialty Vegetables: Asian markets often carry a wider variety of mushrooms and other vegetables commonly used in teppanyaki cooking.
The Art of Teppanyaki: Cooking Techniques and Tips
Now that we’ve covered the basics, let’s dive into the cooking process. Follow these steps to create a delicious teppanyaki feast on your Blackstone griddle:
1. Griddle Preparation
Proper preparation of your Blackstone griddle is crucial for achieving authentic teppanyaki results:
- Preheat thoroughly: Set your griddle to medium-high heat (around 375°F to 400°F) and allow it to heat for at least 10-15 minutes. A properly preheated surface ensures a good sear and prevents sticking.
- Create heat zones: If your griddle has multiple burners, consider setting different zones for various cooking tasks. For example, high heat for searing meat, medium for vegetables, and low for keeping food warm.
- Oil the surface: Just before cooking, lightly oil the griddle surface using a high smoke point oil like vegetable or grapeseed oil. Use a paper towel or cloth to spread a thin, even layer.
2. Mastering the Hibachi Sauce
The secret to great teppanyaki lies in the sauce. Here’s how to prepare our signature hibachi sauce:
- In a small saucepan, combine soy sauce, mirin, sake, sugar, and grated ginger.
- Bring the mixture to a simmer over medium heat, stirring until the sugar fully dissolves.
- Remove from heat and let cool. The sauce will thicken slightly as it cools.
- For added depth, consider adding a clove of minced garlic or a splash of sesame oil.
Pro Tip: Make a double batch of sauce and store the extra in an airtight container in the refrigerator. It will keep for up to two weeks and can be used as a marinade or dipping sauce for other dishes.
3. Cooking the Chicken
Perfectly cooked chicken is a cornerstone of any great teppanyaki meal. Follow these steps for juicy, flavorful results:
- Add 1 tablespoon of oil to one side of the preheated griddle.
- Place the cubed chicken on the oiled surface, ensuring pieces are not overcrowded.
- Season with salt and pepper.
- Cook for 6-8 minutes, flipping occasionally, until the chicken is golden brown and cooked through (internal temperature should reach 165°F).
- In the last minute of cooking, drizzle with hibachi sauce and toss to coat.
Chef’s Secret: For an extra flavor boost, deglaze the griddle with a splash of sake after removing the chicken. Scrape up any browned bits and pour this flavorful liquid over the cooked chicken.
4. Vegetable Mastery
Perfectly cooked vegetables are crisp-tender and full of flavor. Here’s how to achieve teppanyaki-style veggies:
- While the chicken cooks, add 1 tablespoon of oil to the other side of the griddle.
- Add sliced zucchini, onions, and mushrooms in a single layer.
- Season with salt and pepper.
- Cook for 4-5 minutes, stirring occasionally, until vegetables are tender-crisp and lightly charred.
- For added flavor, drizzle with a small amount of hibachi sauce in the last minute of cooking.
Vegetable Variations: Experiment with different vegetable combinations. Bell peppers, carrots, and bean sprouts are all excellent additions to a teppanyaki meal.
5. The Art of Fried Rice
Fried rice is a teppanyaki staple. Follow these steps for restaurant-quality results:
- Push the cooked chicken and vegetables to one side of the griddle.
- Melt 2 tablespoons of butter on the empty side.
- Add the cold rice and break it up with your spatula, ensuring each grain is coated with butter.
- Create a well in the center of the rice and add beaten eggs.
- Scramble the eggs, then mix them into the rice.
- Add frozen peas and carrots, soy sauce, and green onions.
- Stir-fry for 3-4 minutes until everything is well combined and heated through.
Rice Tips:
- Use day-old rice for best results. Freshly cooked rice can become mushy when fried.
- If you don’t have leftover rice, cook rice earlier in the day and spread it on a baking sheet to cool in the refrigerator.
- For authentic flavor, try using short-grain Japanese rice instead of long-grain varieties.
6. Plating and Presentation
Presentation is key in teppanyaki cooking. Here are some tips to make your meal look as good as it tastes:
- Use a large, flat plate or platter to mimic the presentation style of teppanyaki restaurants.
- Create distinct sections on the plate for rice, meat, and vegetables.
- Garnish with additional sliced green onions or sesame seeds for added color and texture.
- Serve additional hibachi sauce on the side for dipping.
Advanced Teppanyaki Techniques: Elevate Your Griddle Game
Once you’ve mastered the basics, try incorporating these advanced techniques to take your teppanyaki skills to the next level:
1. The Onion Volcano
While we don’t recommend attempting to light it on fire at home, you can still create an impressive onion volcano:
- Slice an onion into thick rings and separate the layers.
- Stack the rings on the griddle, largest to smallest.
- As the onion cooks, it will steam, creating a volcano-like effect.
2. Egg Juggling
Practice your hand-eye coordination with this classic teppanyaki trick:
- Crack an egg onto the griddle.
- Using the edge of your spatula, quickly separate the yolk from the white.
- Use your spatula to flip the yolk into the air and catch it.
- With practice, you can flip the yolk multiple times before letting it rejoin the white on the griddle.
3. Shrimp Tail Flipping
This trick takes practice but is sure to impress your guests:
- Cook shrimp on the griddle until nearly done.
- Use your spatula to flip a shrimp into the air, aiming to catch the tail between the tines of a fork held in your other hand.
Remember, safety should always come first when attempting these tricks. Practice without heat until you feel confident in your skills.
Maintaining Your Blackstone Griddle: Ensuring Years of Teppanyaki Enjoyment
Proper maintenance of your Blackstone griddle is crucial for consistent performance and longevity. Follow these steps after each use:
-
Scrape off food debris: While the griddle is still warm (but not hot), use a metal scraper to remove any stuck-on food particles.
-
Wipe it down: Use paper towels or a cloth to wipe the surface clean. For stubborn spots, use a mixture of warm water and mild dish soap, but be sure to rinse thoroughly.
-
Season the griddle: Apply a thin layer of cooking oil to the cooled surface. Use a paper towel to spread the oil evenly, creating a protective layer that prevents rust and maintains the non-stick quality.
-
Cover it up: Once completely cool, cover your griddle to protect it from dust and moisture.
Deep Cleaning Tips:
- For a deeper clean, create a paste with coarse salt and water. Scrub the surface with this mixture, then rinse thoroughly.
- If rust appears, don’t panic. Use steel wool to remove the rust, then re-season the griddle surface.
Teppanyaki Safety: Ensuring a Fun and Safe Cooking Experience
While teppanyaki cooking is exciting, it’s important to prioritize safety, especially when cooking at high temperatures:
-
Fire safety: Keep a fire extinguisher nearby, and never leave your griddle unattended while in use.
-
Proper ventilation: If cooking indoors, ensure adequate ventilation to prevent smoke buildup.
-
Use appropriate tools: Use long-handled utensils to keep your hands away from the hot surface.
-
Avoid loose clothing: Wear close-fitting clothes to prevent fabric from catching fire.
-
Handle oil carefully: Be cautious when adding oil to the hot griddle to avoid splatters.
-
Cool down properly: Allow your griddle to cool completely before cleaning or storing.
Frequently Asked Questions
Q: Can I use other meats for this teppanyaki recipe? A: Absolutely! Steak, shrimp, or even tofu work great. For steak, aim for cuts like ribeye or sirloin, sliced thinly against the grain. Adjust cooking times accordingly – steak may need less time, while shrimp cooks quickly.
Q: What’s the best oil to use on a Blackstone griddle for teppanyaki cooking? A: High smoke point oils are ideal. Vegetable, canola, or grapeseed oil work well. For authentic flavor, some chefs prefer to use a mixture of vegetable oil and sesame oil.
Q: How can I recreate the theatrical aspects of teppanyaki at home? A: While safety should be your primary concern, you can add flair to your cooking by practicing spatula tricks, creating an onion volcano, or learning to flip shrimp tails. Always practice these techniques without heat until you’re confident in your skills.
Q: Can I make teppanyaki without a Blackstone griddle? A: While a Blackstone griddle is ideal, you can use a large cast-iron skillet or an electric griddle as alternatives. The key is to have a flat, evenly heated surface large enough to cook multiple items simultaneously.
Q: How do I prevent my fried rice from becoming mushy? A: Use day-old rice that’s been refrigerated. The cold, dry rice will fry up nicely without becoming mushy. If you don’t have leftover rice, cook your rice earlier in the day, spread it on a baking sheet, and refrigerate until cool and dry.
Q: Are there vegetarian options for teppanyaki? A: Absolutely! Tofu makes an excellent protein substitute. You can also focus on a variety of vegetables like zucchini, bell peppers, mushrooms, and bean sprouts. Consider adding meat alternatives like seitan or tempeh for additional protein options.
Q: How can I add more authentic Japanese flavors to my teppanyaki dishes? A: Experiment with ingredients like wasabi, pickled ginger, or yuzu juice. You can also try incorporating traditional Japanese seasonings like furikake or togarashi into your dishes.
Conclusion: Your Journey to Teppanyaki Mastery
Congratulations! You’re now equipped with the knowledge and techniques to create an authentic teppanyaki experience right in your own backyard. With your Blackstone griddle and these expert tips and tricks, you’re well on your way to becoming a home teppanyaki master chef.
Remember, the key to great teppanyaki lies not just in the cooking techniques, but in the entire experience. Engage your guests, put on a show, and create a memorable dining event that goes beyond just the food.
As you continue to practice and refine your skills, don’t be afraid to experiment with new ingredients, flavors, and techniques. The world of teppanyaki is vast and varied, offering endless opportunities for culinary creativity.
So fire up that Blackstone, gather your ingredients, and get ready for a sizzling good time. Your journey to becoming a teppanyaki master chef starts now!
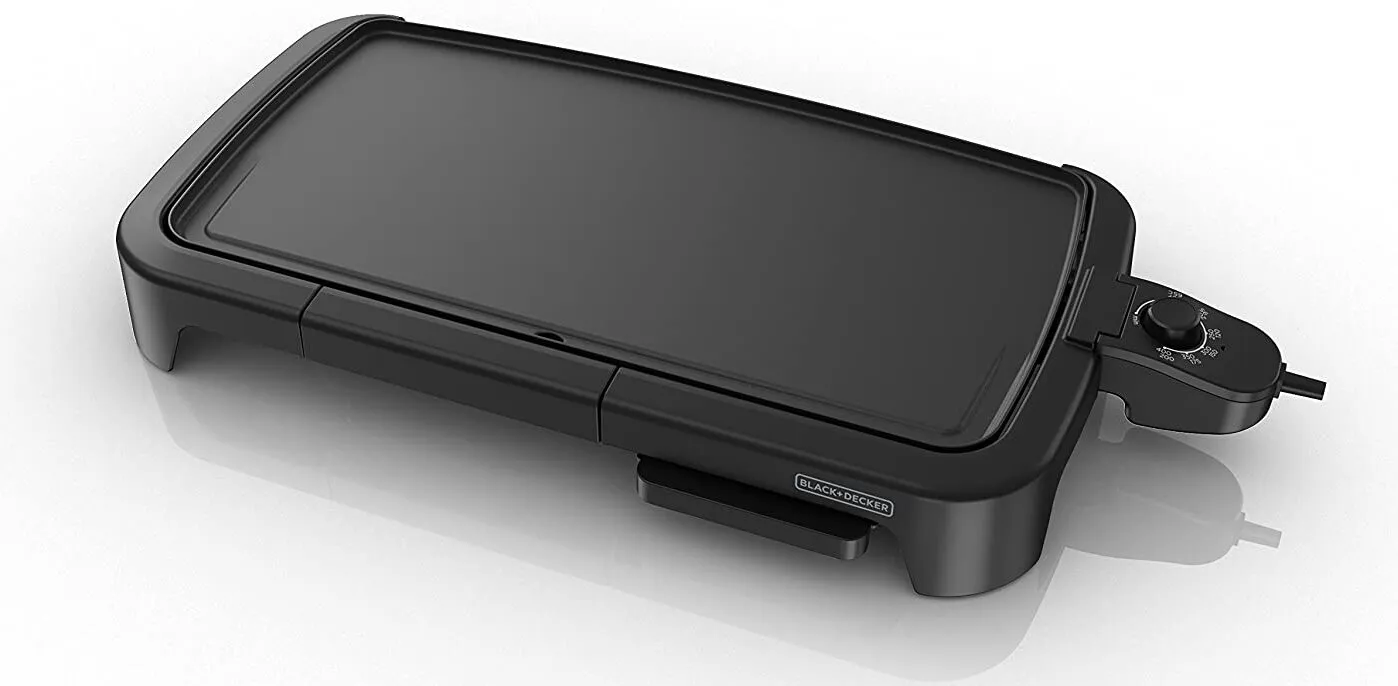
How to Clean an Electric Griddle: The Ultimate Step-by-Step Guide
Electric griddles are versatile cooking appliances that have become increasingly popular in modern kitchens. However, maintaining these devices can be…
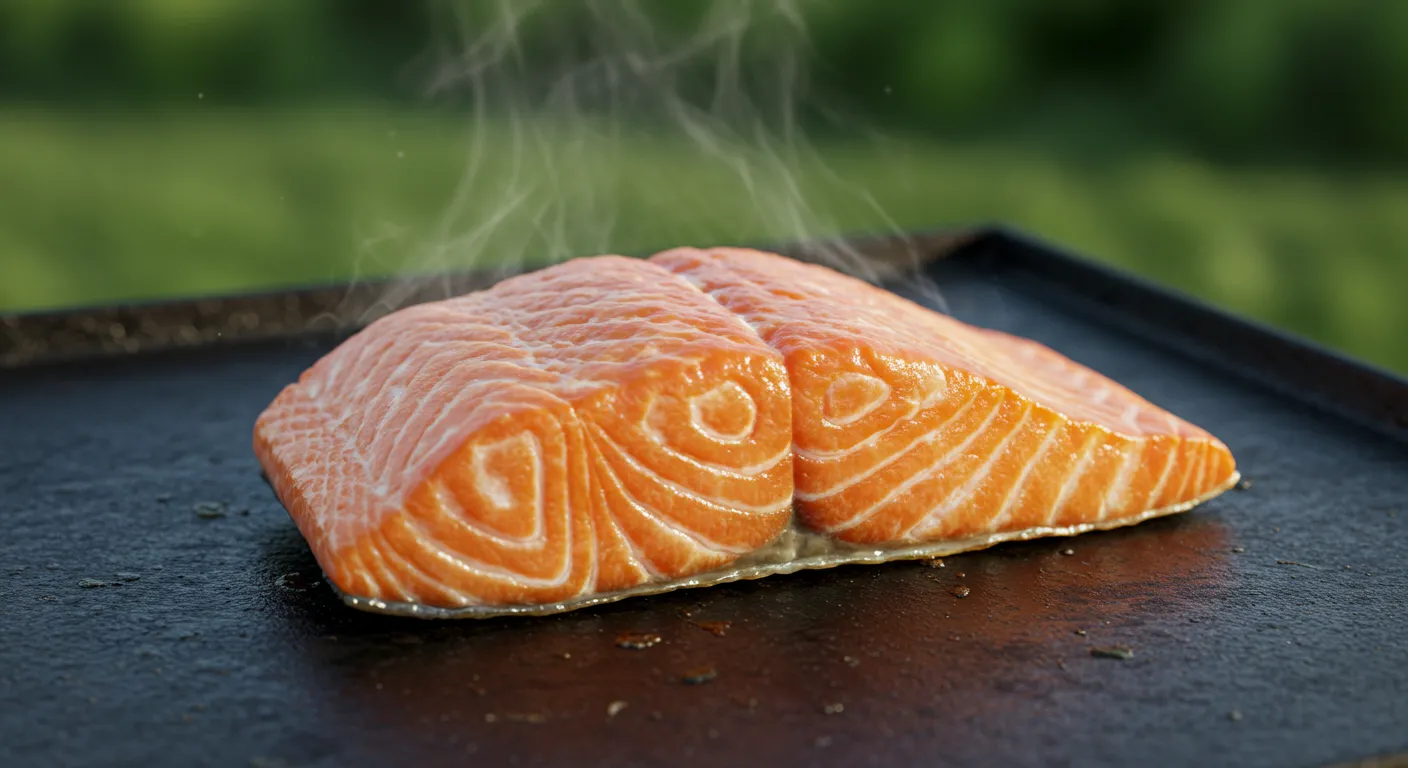
Perfect Blackstone Salmon: Easy Griddle Recipe & Expert Tips
Introduction Cooking salmon on a Blackstone griddle is a game-changing technique that combines the rich flavor of this nutritious fish with the convenience and…
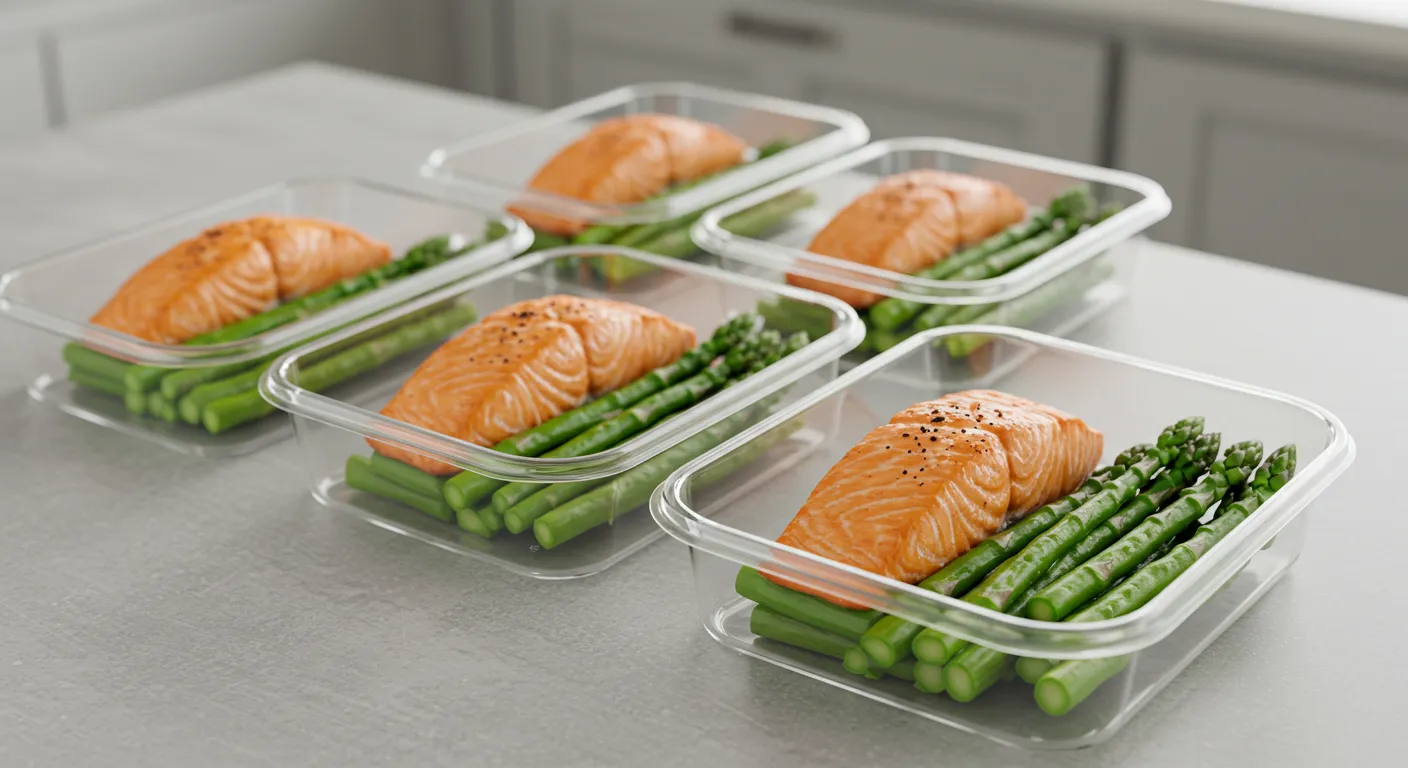
Meal Prep on a Blackstone Griddle: 6 Healthy Recipes & Tips
Last Updated: March 17, 2025 | By Justin, Griddle Enthusiast Meal prepping just got a whole lot tastier—and easier—thanks to your Blackstone griddle! This…