The Ultimate Guide to Seasoning Your Blackstone Griddle: Oils, Tips, and Troubleshooting
Are you ready to unlock the full potential of your outdoor cooking experience? Mastering the art of seasoning your Blackstone griddle is the key to achieving culinary excellence. This comprehensive guide will walk you through everything you need to know about seasoning your Blackstone griddle, from choosing the right oils to advanced techniques and troubleshooting common issues.
Why Seasoning Your Blackstone Griddle Matters
Seasoning your Blackstone griddle isn’t just a recommended step – it’s a crucial process that sets the foundation for years of delicious meals. Here’s why seasoning is so important:
-
Prevents Rust: A properly seasoned griddle forms a protective layer that shields the metal surface from moisture, effectively preventing rust formation.
-
Creates a Non-Stick Surface: Seasoning builds up a natural non-stick coating, making cooking and cleaning effortless.
-
Enhances Flavor: A well-seasoned griddle imparts a subtle, delicious flavor to your food, elevating your culinary creations.
-
Improves Longevity: Regular seasoning protects your griddle, significantly extending its lifespan and ensuring a great return on your investment.
-
Promotes Even Heating: Seasoning helps distribute heat more evenly across the cooking surface, resulting in consistent cooking results.
The popularity of flat-top griddle cooking has skyrocketed in recent years, with Blackstone leading the charge. According to a 2022 survey by the Hearth, Patio & Barbecue Association, outdoor griddles are now present in 15% of American households, a 5% increase from 2020. This growing trend underscores the importance of learning how to properly season and maintain your Blackstone griddle.
The Science Behind Seasoning
To truly appreciate the seasoning process, it’s essential to understand the science behind it. When you heat oil on the griddle’s surface, a chemical reaction called polymerization occurs. This process breaks down the oil molecules and allows them to bond with the metal surface, creating a hard, plastic-like layer.
Dr. Sarah Thompson, a materials scientist at the University of California, Berkeley, explains: “The polymerization process during seasoning creates a durable, non-stick surface through the formation of cross-linked polymer chains. This layer not only protects the metal from oxidation but also provides a smooth cooking surface that improves with use.”
What You’ll Need for Seasoning Your Blackstone Griddle
Before diving into the seasoning process, gather these essential items:
- Your Blackstone griddle
- Blackstone Seasoning Oil or other recommended oils
- Heat-resistant gloves
- Lint-free paper towels
- Tongs
- Scraper
- Infrared thermometer (optional but helpful)
- Respirator mask (for indoor seasoning)
Having these items on hand will ensure a smooth and efficient seasoning process.
Choosing the Right Oil for Seasoning Your Blackstone Griddle
Selecting the right oil is crucial for proper seasoning. Let’s explore some top options and their unique properties:
Blackstone Seasoning Oil
Blackstone’s proprietary seasoning oil is specifically formulated for their griddles, offering:
- A high smoke point of 450°F
- Easy application
- Optimal protection against rust
- A blend of oils designed for durability and flavor
Flaxseed Oil
Flaxseed oil is popular for initial seasoning due to its ability to create a hard, durable finish. A study published in the Journal of Food Engineering found that flaxseed oil produced the most durable seasoning layer among various oils tested. However, be cautious:
- Apply in very thin layers to prevent flaking
- Has a strong odor when heating
- Low smoke point of 225°F requires careful temperature control
Canola Oil
A readily available and affordable option:
- Good smoke point of 400°F
- Neutral flavor
- Easy to find in most stores
- Contains heart-healthy monounsaturated fats
Avocado Oil
Excellent for high-heat cooking:
- Very high smoke point of 520°F
- Neutral flavor
- Rich in healthy monounsaturated fats
- Contains antioxidants that may provide additional protection to the griddle surface
Grapeseed Oil
A lesser-known but excellent option:
- High smoke point of 420°F
- Very light flavor
- Rich in vitamin E, which acts as a natural preservative
Lard or Shortening
Traditional options that provide excellent seasoning:
- Great for flavor
- Creates a durable coating
- May not be suitable for those avoiding animal products
- Lard has a smoke point of 370°F
When choosing your oil, consider the smoke point – the temperature at which the oil begins to break down and smoke. Here’s a comprehensive comparison:
| Oil Type | Smoke Point | Flavor Profile | Fat Composition |
|---|---|---|---|
| Flaxseed | 225°F | Nutty | High in omega-3 fatty acids |
| Canola | 400°F | Neutral | Low in saturated fat |
| Avocado | 520°F | Neutral | High in monounsaturated fat |
| Grapeseed | 420°F | Light | High in polyunsaturated fat |
| Lard | 370°F | Savory | High in saturated fat |
| Blackstone | 450°F | Neutral | Proprietary blend |
For optimal results, choose an oil with a smoke point above 350°F for everyday cooking. The higher the smoke point, the more versatile the oil will be for various cooking techniques.
Step-by-Step Guide to Seasoning Your Blackstone Griddle
Now that you’ve chosen your oil, let’s walk through the seasoning process in detail:
-
Clean the Griddle:
- Remove any manufacturing oils or debris with warm soapy water
- Use a non-abrasive sponge or cloth to avoid scratching the surface
- Rinse thoroughly with clean water
- Dry completely with lint-free paper towels or a clean cloth
- Heat the griddle on low for 5 minutes to ensure all moisture has evaporated
-
Apply a Thin Coat of Oil:
- Pour about 2-3 tablespoons of your chosen oil onto the griddle surface
- Use a paper towel held with tongs to spread it into a very thin, even layer
- Ensure complete coverage, including the edges and corners
- Remove any excess oil – the surface should look damp, not wet
-
Heat the Griddle:
- Turn all burners to high heat
- Close the lid if your model has one
- Use an infrared thermometer to monitor the surface temperature
-
Wait for the Smoke Point:
- Allow the oil to heat until it starts to smoke
- This process typically takes 10-15 minutes, depending on your oil choice
- The griddle surface should reach a temperature close to the oil’s smoke point
-
Maintain the Heat:
- Once smoking begins, maintain the high heat for 10-15 minutes
- This allows the oil to fully polymerize and bond to the metal surface
-
Cool and Repeat:
- Turn off the burners and let the griddle cool for about 10-15 minutes
- The surface should be warm but not hot to the touch
- Repeat steps 2-5 at least 3-4 times for initial seasoning
Pro Tip: For best results, season your griddle outdoors or in a well-ventilated area due to the smoke produced during the process. If seasoning indoors is unavoidable, use a respirator mask and ensure maximum ventilation.
The Importance of Multiple Layers
Chef Maria Rodriguez, a professional griddle cooking instructor, emphasizes the importance of multiple seasoning layers: “Each layer of seasoning builds upon the previous one, creating a more durable and non-stick surface. I recommend at least 3-4 initial layers, but some enthusiasts go up to 10 layers for the ultimate seasoning.”
How Long Does It Take to Season a Blackstone Griddle?
The initial seasoning process typically takes 1-2 hours, depending on how many layers you apply. However, it’s important to understand that seasoning is an ongoing process:
- Initial Seasoning: 1-2 hours (3-4 layers)
- Maintenance Seasoning: 10-15 minutes after each use
Remember, the more you cook on your griddle, the better seasoned it becomes. Regular use and proper care will continually improve your griddle’s seasoning.
Maintaining Your Blackstone Griddle’s Seasoning
To keep your Blackstone griddle in top condition:
-
After Each Use:
- Allow the griddle to cool slightly but remain warm
- Scrape off food debris using a metal spatula or scraper
- Wipe the surface with a paper towel to remove any remaining particles
- Apply a light coat of oil while the griddle is still warm
- Use a paper towel to spread the oil evenly, creating a thin protective layer
-
Regular Cleaning:
- For stubborn bits, use hot water and a scraper
- For tougher residue, create a slurry of water and salt to scrub the surface
- Avoid soap, which can strip the seasoning
- After cleaning, heat the griddle to evaporate any remaining moisture
- Apply a thin layer of oil to protect the surface
-
Deep Cleaning (When Necessary):
- For extremely stubborn residue, use a mixture of water and lemon juice
- Scrub gently with a non-abrasive pad
- Rinse thoroughly and dry completely
- Re-season the cleaned areas immediately
-
Re-season as Needed:
- If you notice food sticking or uneven coloring, it’s time to re-season
- Follow the initial seasoning process, applying 1-2 new layers
-
Storage:
- Store your griddle in a cool, dry place
- Use a weather-resistant cover if storing outdoors
- Place a thin layer of oil on the surface before extended storage periods
Troubleshooting Common Seasoning Problems
Even experienced grillers can encounter issues. Here’s how to address common problems:
Sticky Seasoning
Cause: Too much oil applied during seasoning Solution:
- Heat the griddle to medium (about 350°F)
- Use a metal scraper to remove excess oil and any sticky residue
- Clean the surface with paper towels
- Re-season with a very thin layer of oil, focusing on even application
Rust Spots
Cause: Moisture exposure or inadequate seasoning Solution:
- For light rust, scrub with a mixture of salt and oil using a paper towel
- For more severe rust, use fine-grit sandpaper or steel wool
- Clean thoroughly with hot water and dry completely
- Apply a rust inhibitor (if available)
- Re-season the affected area immediately, applying 3-4 layers
Flaking Seasoning
Cause: Often due to using flaxseed oil incorrectly or over-seasoning Solution:
- Heat the griddle to medium (about 350°F)
- Use a metal scraper to remove flaking areas
- Clean the surface thoroughly with hot water and dry completely
- Re-season with a different oil, applying very thin layers
- Consider using a blend of oils for better adhesion
Uneven Coloring
Cause: Inconsistent oil application or heating Solution:
- Clean the griddle surface thoroughly
- Apply a thin, even layer of oil across the entire surface
- Heat the griddle, focusing on maintaining an even temperature
- Repeat the seasoning process 2-3 times, paying attention to even application and heating
Advanced Seasoning Techniques for Your Blackstone Griddle
Ready to take your seasoning game to the next level? Try these advanced techniques:
Oven Seasoning Method
For a more even initial seasoning:
- Preheat your oven to 450°F
- Clean your griddle top thoroughly and dry completely
- Apply a thin layer of high-smoke-point oil (avocado or grapeseed work well)
- Place the griddle top upside down on the oven rack
- Put a baking sheet on the bottom rack to catch any drips
- Bake for 1 hour, then turn off the oven and let the griddle cool inside
- Repeat 2-3 times for optimal results
Note: Ensure your oven is well-ventilated, and the griddle top fits in your oven before attempting this method. This technique works best for initial seasoning or complete re-seasoning.
Targeted Seasoning
For areas of your griddle that see more use:
- Identify high-use areas (often the center)
- Clean these areas thoroughly
- Apply an extra layer of seasoning to these spots
- Heat the entire griddle as usual
- Cool and repeat the process 2-3 times for these specific areas
This technique helps maintain an even cooking surface across your entire griddle, compensating for areas that may wear faster due to frequent use.
Seasoning with Bacon
A flavorful way to enhance your griddle’s seasoning:
- Start with a clean, pre-seasoned griddle
- Cook several batches of bacon across the entire surface
- Allow the bacon grease to coat the griddle
- After cooking, clean the surface but leave a thin layer of bacon fat
- Heat the griddle on high for 10-15 minutes to polymerize the fat
- Cool and repeat if desired
This method adds flavor to your seasoning layer and can be especially effective for griddles used primarily for breakfast cooking.
Cold-Start Seasoning
A gentler approach that may reduce flaking:
- Start with a clean, room-temperature griddle
- Apply a very thin layer of oil
- Place the griddle on the cooktop and slowly increase heat
- Allow the griddle to reach smoking point gradually
- Maintain heat for 10-15 minutes once smoking
- Cool and repeat 3-4 times
This method can be particularly effective for griddles that have experienced flaking with traditional high-heat seasoning methods.
The Role of Cooking in Seasoning
It’s important to note that regular cooking on your Blackstone griddle contributes significantly to its seasoning. Each time you cook, especially with fatty foods, you’re adding to the seasoning layer. Here are some foods that are particularly good for building up your griddle’s seasoning:
- Bacon
- Fatty cuts of beef
- Skin-on chicken
- Vegetables sautéed in oil
Chef Rodriguez advises, “Don’t be afraid to use your griddle regularly. The more you cook, especially with a variety of foods, the more robust and non-stick your seasoning will become.”
Environmental Considerations in Griddle Seasoning
As outdoor cooking enthusiasts, it’s important to consider the environmental impact of our practices. Here are some eco-friendly tips for seasoning and maintaining your Blackstone griddle:
-
Choose sustainable oils: Opt for oils produced using environmentally friendly methods, such as organic avocado or sustainably sourced grapeseed oil.
-
Minimize smoke: While some smoke is inevitable during seasoning, try to minimize it by using just enough oil and maintaining proper temperature control.
-
Proper disposal: Never pour used oil down the drain. Instead, collect it in a container and dispose of it according to local regulations.
-
Use natural cleaning methods: Whenever possible, use natural cleaning agents like salt, water, and lemon juice instead of harsh chemicals.
-
Maintain your griddle: Regular maintenance reduces the need for deep cleaning and re-seasoning, which can be resource-intensive processes.
Conclusion: Mastering the Art of Seasoning Your Blackstone Griddle
Properly seasoning your Blackstone griddle is the foundation for countless delicious meals and a lifetime of outdoor cooking enjoyment. By following this comprehensive guide, you’ve learned:
- The science behind seasoning and why it’s crucial for your griddle’s performance
- How to choose the right oil based on smoke points and health considerations
- Step-by-step seasoning techniques for perfect results every time
- Troubleshooting common issues to maintain your griddle’s condition
- Advanced methods for griddle enthusiasts to take their seasoning to the next level
- Eco-friendly practices for responsible outdoor cooking
Remember, seasoning is an ongoing process that improves with use. Embrace the journey of maintaining and cooking on your Blackstone griddle, and you’ll be rewarded with a perfectly non-stick cooking surface that’s built to last.
As you continue to use and care for your griddle, you’ll develop your own techniques and preferences. Don’t be afraid to experiment and find what works best for you. Share your experiences with fellow Blackstone enthusiasts and continue to learn from the community.
Ready to put your newly seasoned griddle to the test? Explore our collection of Blackstone griddle recipes, from classic breakfasts to gourmet dinners, and start creating unforgettable meals for family and friends.
Happy griddling!
Frequently Asked Questions
Q: Can I use olive oil to season my Blackstone griddle?
A: While olive oil can be used for cooking, it’s not ideal for seasoning due to its relatively low smoke point (375-405°F for extra virgin olive oil). Stick to oils with higher smoke points like avocado, grapeseed, or Blackstone Seasoning Oil for best results.
Q: How often should I re-season my Blackstone griddle?
A: With proper care, you shouldn’t need to fully re-season often. Apply a light coat of oil after each use. If you notice food sticking or uneven coloring, it’s time for a more thorough re-seasoning. Most users find that a full re-seasoning every 3-6 months is sufficient with regular use.
Q: Can I season my Blackstone griddle indoors?
A: While it’s best to season your griddle outdoors due to the smoke produced, indoor seasoning is possible with proper precautions. Ensure excellent ventilation, use a respirator mask, and be prepared for some smoke. Consider using the oven method for indoor seasoning to minimize smoke in your living space.
Q: What’s the best way to remove rust from my Blackstone griddle?
A: For light rust, use a mixture of oil and salt as an abrasive. For more severe rust, start with a 50/50 mix of water and white vinegar, scrub with steel wool, rinse thoroughly, dry completely, and immediately re-season the affected area to prevent future rust. For extensive rust, you may need to use sandpaper or a griddle stone before re-seasoning.
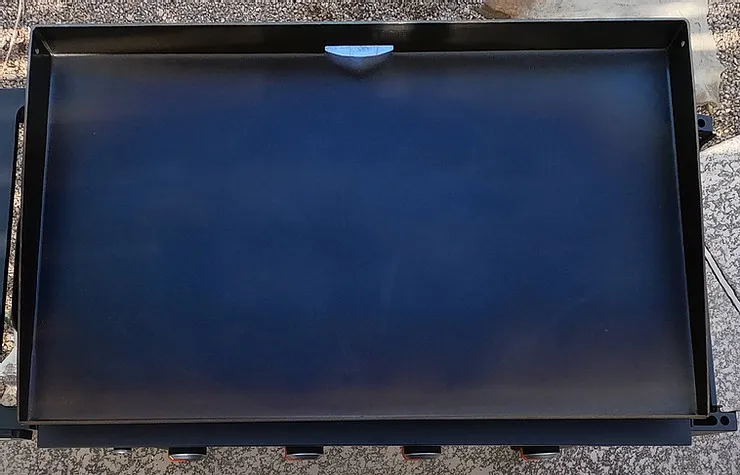
Q: Is it normal for my griddle to look darker after seasoning?
A: Yes, a properly seasoned griddle will have a dark, almost black appearance. This is the desired result and indicates a good seasoning layer. The color may be slightly uneven at first but should become more uniform with use and additional seasoning.
Q: Can I use metal utensils on my seasoned Blackstone griddle?
A: Yes, you can use metal utensils on a well-seasoned Blackstone griddle. The seasoning layer is durable enough to withstand metal spatulas and scrapers. However, avoid using excessive force or sharp edges that could potentially damage the seasoning or the griddle surface.
Q: How do I know if my griddle is properly seasoned?
A: A well-seasoned griddle will have a dark, somewhat shiny appearance and will be smooth to the touch. Water should bead up and roll off the surface easily. When cooking, food should release without sticking, and cleaning should be effortless with minimal residue left behind.
Q: Can I use my Blackstone griddle right after seasoning?
A: It’s best to let your griddle cool completely after the final seasoning layer before cooking. This allows the seasoning to fully set. Once cooled, you can start cooking immediately. Many users like to break in their newly seasoned griddle with a batch of bacon or fatty meat to further enhance the seasoning.
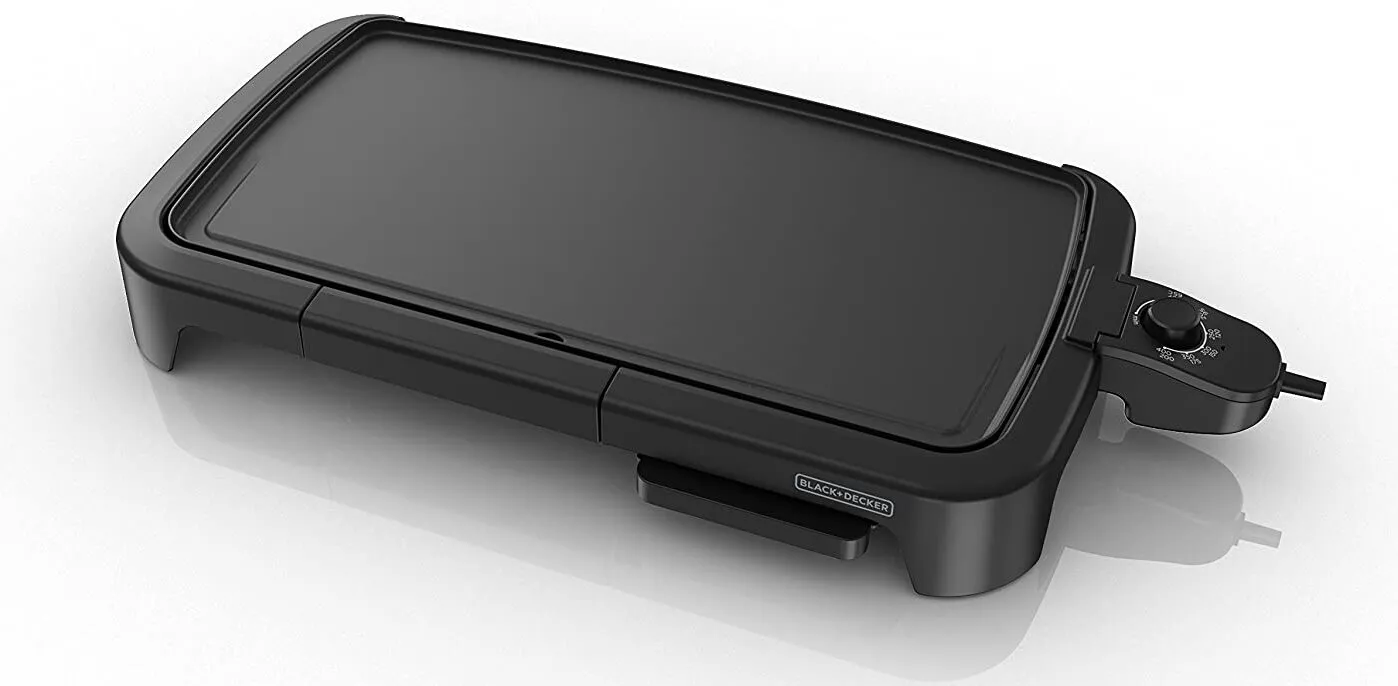
How to Clean an Electric Griddle: The Ultimate Step-by-Step Guide
Electric griddles are versatile cooking appliances that have become increasingly popular in modern kitchens. However, maintaining these devices can be…
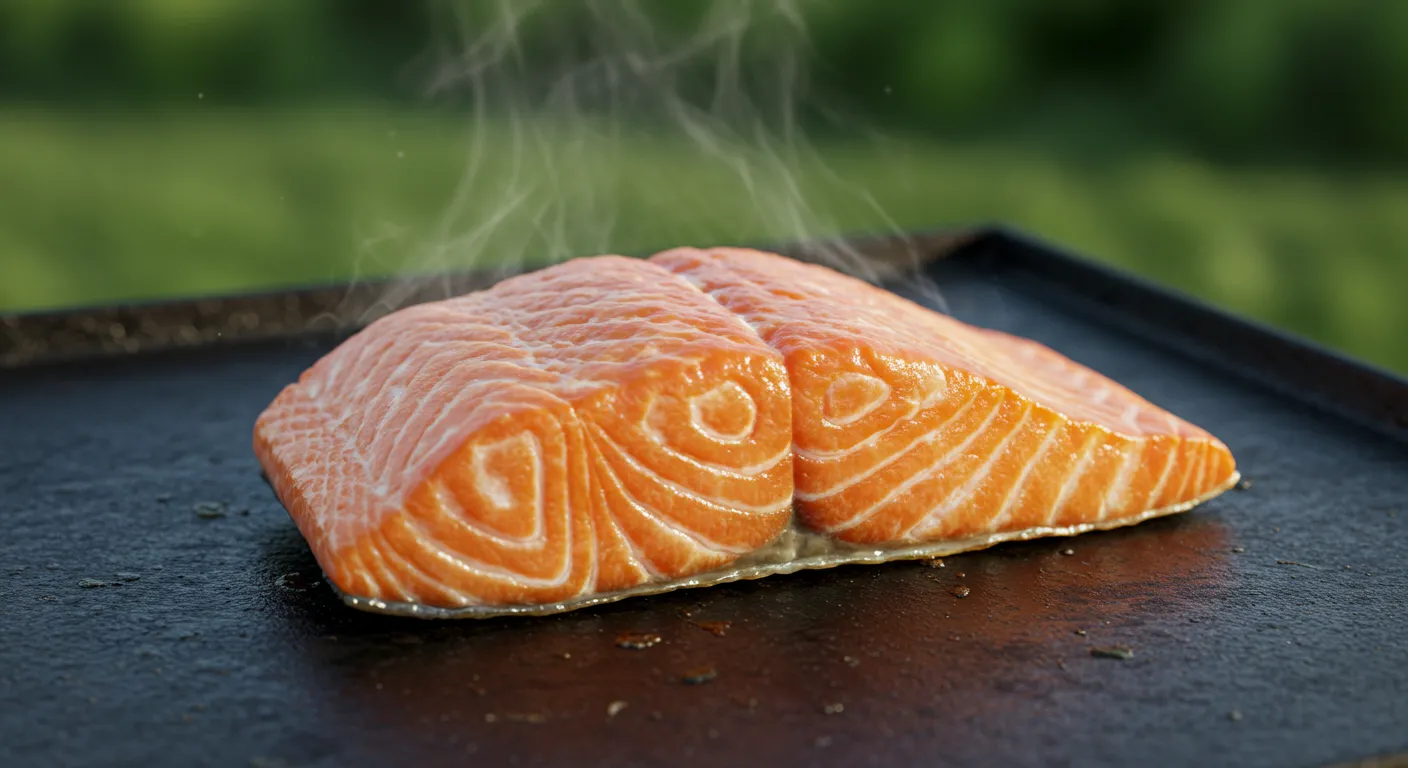
Perfect Blackstone Salmon: Easy Griddle Recipe & Expert Tips
Introduction Cooking salmon on a Blackstone griddle is a game-changing technique that combines the rich flavor of this nutritious fish with the convenience and…

The Ultimate Blackstone Hibachi Recipe: Master Japanese Steakhouse Flavors at Home
Are you yearning for the sizzling excitement and mouthwatering flavors of a Japanese steakhouse without the hefty price tag? Look no further! Our comprehensive…