How to Cook the Perfect Steak on a Blackstone Griddle – Tips & Techniques
Cooking steak on a Blackstone griddle delivers a mouthwatering sear and juicy, tender meat that rivals any steakhouse. Whether you’re a grilling newbie or a seasoned cook, the Blackstone’s flat-top surface offers unbeatable heat control and versatility, making it a game-changer for steak night.
In this guide, we’ll walk you through how to cook steak on a Blackstone griddle, combining expert tips for that perfect crust and flavorful finish. Get ready to impress your family and friends with a steak that’s cooked just right—every time.
Why Choose a Blackstone Griddle for Steak?
The Blackstone griddle stands out for its large, even-heating surface, which ensures consistent cooking across your steak. Unlike a traditional grill with grates, the solid flat top locks in juices and creates a golden-brown crust without flare-ups.
Plus, you can cook sides like garlic butter mushrooms or potatoes right alongside your steak, saving time and dishes. With precise temperature control—think 450°F to 500°F for searing—you’ll nail that steakhouse quality at home.
Step 1: Pick the Right Steak
Start with a quality cut. Ribeye, New York strip, or filet mignon work beautifully on the Blackstone thanks to their thickness (aim for 1 to 1.5 inches) and marbling, which keeps the meat juicy. Thicker cuts handle the high heat better, giving you that crisp exterior without overcooking the center.
Bring your steak to room temperature—about 30 minutes out of the fridge—so it cooks evenly. Cold steaks can sear outside while staying raw inside, which isn’t the goal here.
Step 2: Prep Like a Pro
Dry your steak with paper towels before seasoning. Excess moisture prevents that coveted crust from forming, so don’t skip this step. Keep it simple with fine sea salt and freshly ground black pepper on both sides, or elevate it with a rub like Montreal Steak Seasoning for a bold flavor punch.
Avoid sugary blends, though—they can burn on the griddle’s hot surface. For an extra touch, set the steak on a clean, dry plate after seasoning to avoid re-wetting it.
Step 3: Preheat the Griddle for Success
Fire up your Blackstone to medium-high heat, aiming for 450°F to 500°F. Preheat for 10-15 minutes until you see wisps of smoke—this signals it’s ready for searing. Brush a thin layer of high-smoke-point oil (like avocado oil) onto the surface to prevent sticking and boost flavor.
Don’t overcrowd the griddle—cook one or two steaks at a time to maintain that high heat. Too many steaks drop the temperature, steaming the meat instead of searing it.
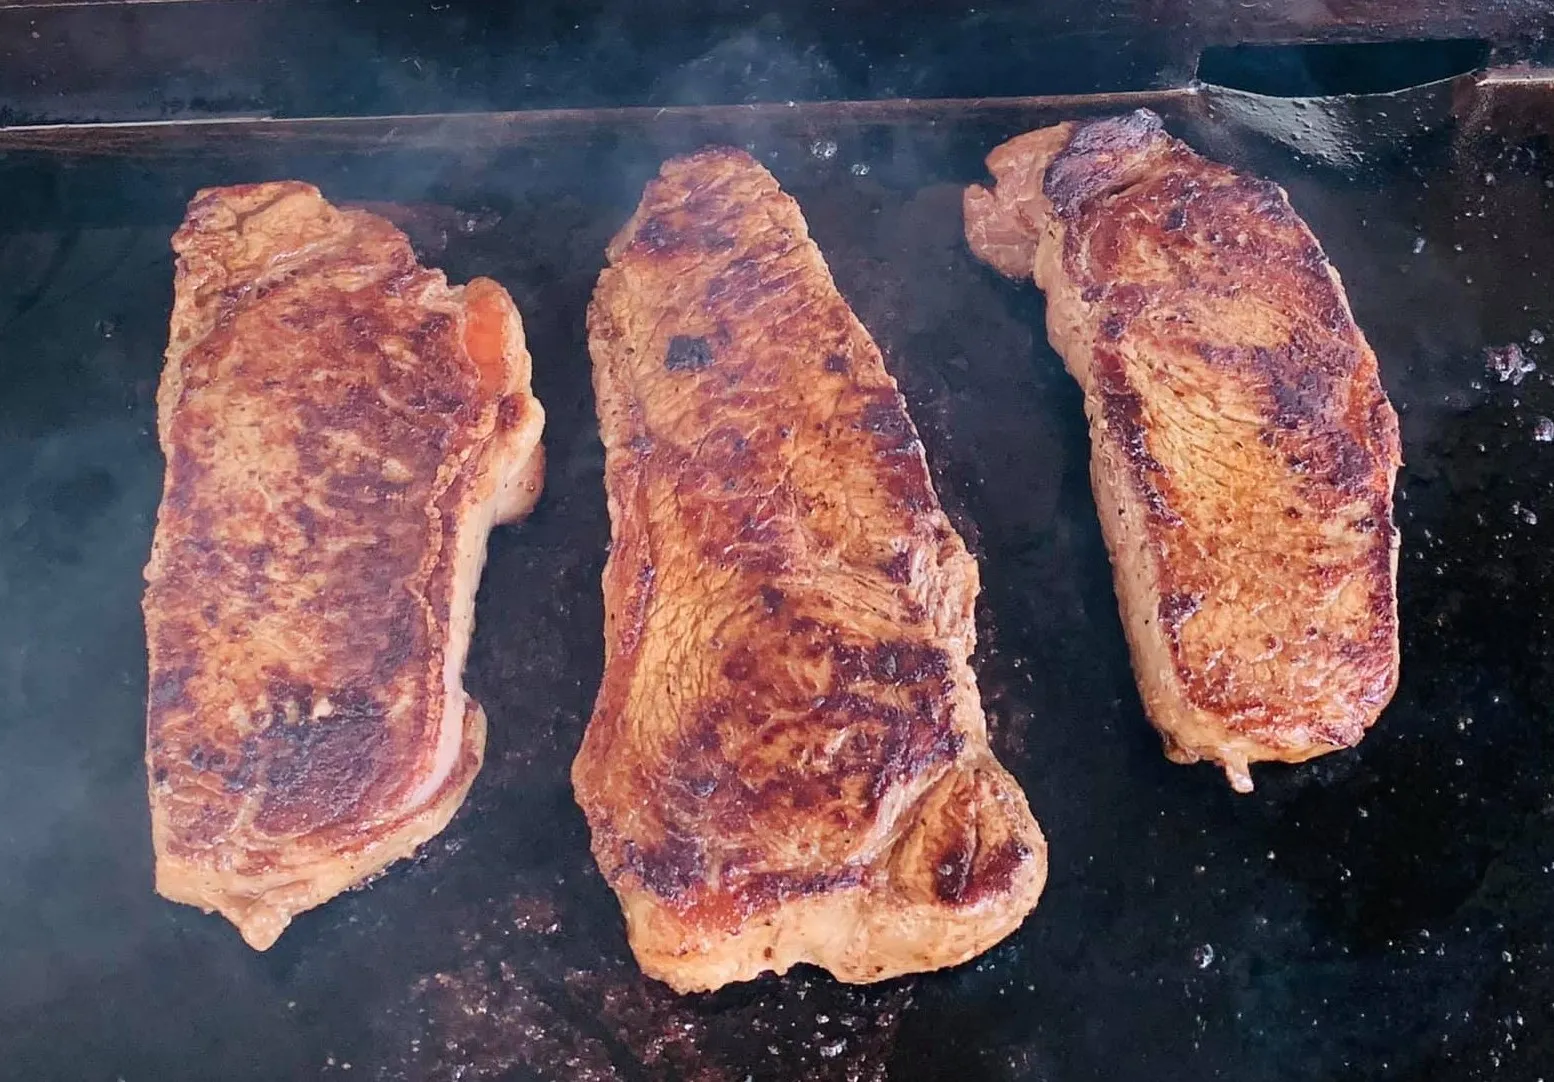
Step 4: Sear It Perfectly
Place your seasoned steak on the hot, oiled griddle and let it sit undisturbed for 4-5 minutes. You’ll hear a satisfying sizzle—that’s the Maillard reaction creating that delicious crust. Resist the urge to move it; the steak will release naturally when it’s ready to flip.
After the first side is golden-brown, flip it with a spatula to a fresh spot on the griddle. The original spot cools slightly under the steak, so moving it ensures an even sear on the second side, which takes another 3-5 minutes depending on thickness and doneness.
Step 5: Add a Flavor Boost
After flipping, take your steak to the next level. Add 1-2 tablespoons of butter, a sprig of rosemary or thyme, and a couple of garlic cloves to the griddle near the steak. As the butter melts, spoon it over the meat for a rich, aromatic finish.
This basting trick, borrowed from steakhouses, infuses flavor and keeps the steak succulent. Cook until it hits your desired doneness—use a meat thermometer for precision (see below for temps).
Step 6: Check Doneness and Rest
For the perfect cook, pull the steak off the griddle 5°F below your target temperature—it’ll rise as it rests. Here’s a quick guide:
- Rare**: 120°F-125°F
- Medium Rare**: 130°F-135°F
- Medium**: 140°F-145°F
- Medium Well**: 150°F-155°F
- Well Done**: 160°F+
Let the steak rest for 5-10 minutes on a plate or cutting board, loosely covered with foil. This redistributes the juices, ensuring every bite is tender and flavorful. Slice against the grain and serve with your favorite sides.
Pro Tips for Blackstone Steak Mastery
- Flip to a Fresh Spot: Always move the steak to an unused griddle area after flipping for a hotter surface and better crust.
- Don’t Overcrowd: Space steaks apart to keep the heat consistent—patience pays off.
- Butter Timing: Add butter after the flip to avoid burning; it’ll melt perfectly into the meat.
- Clean Up Easy: Scrape the griddle after cooking and wipe it with oil to maintain seasoning for next time.
Why This Method Works
Cooking steak on a Blackstone griddle combines the best of skillet and grill techniques. The flat surface maximizes contact for an even sear, while the heat control lets you dial in doneness without guesswork.
Whether you’re craving a medium-rare ribeye or a well-done strip, this method delivers. Plus, the versatility of the Blackstone means you can whip up garlic butter veggies or crispy potatoes alongside your steak—all in one go.
Final Thoughts
Mastering how to cook steak on a Blackstone griddle is all about preparation, heat, and timing. With a hot griddle, a good cut, and a few simple ingredients, you’ll have a juicy, perfectly seared steak in under 20 minutes. Ready to fire up your Blackstone? Try this tonight and taste the difference—your taste buds will thank you.
How to Clean an Electric Griddle: The Ultimate Step-by-Step Guide
Electric griddles are versatile cooking appliances that have become increasingly popular in modern kitchens. However, maintaining these devices can be…
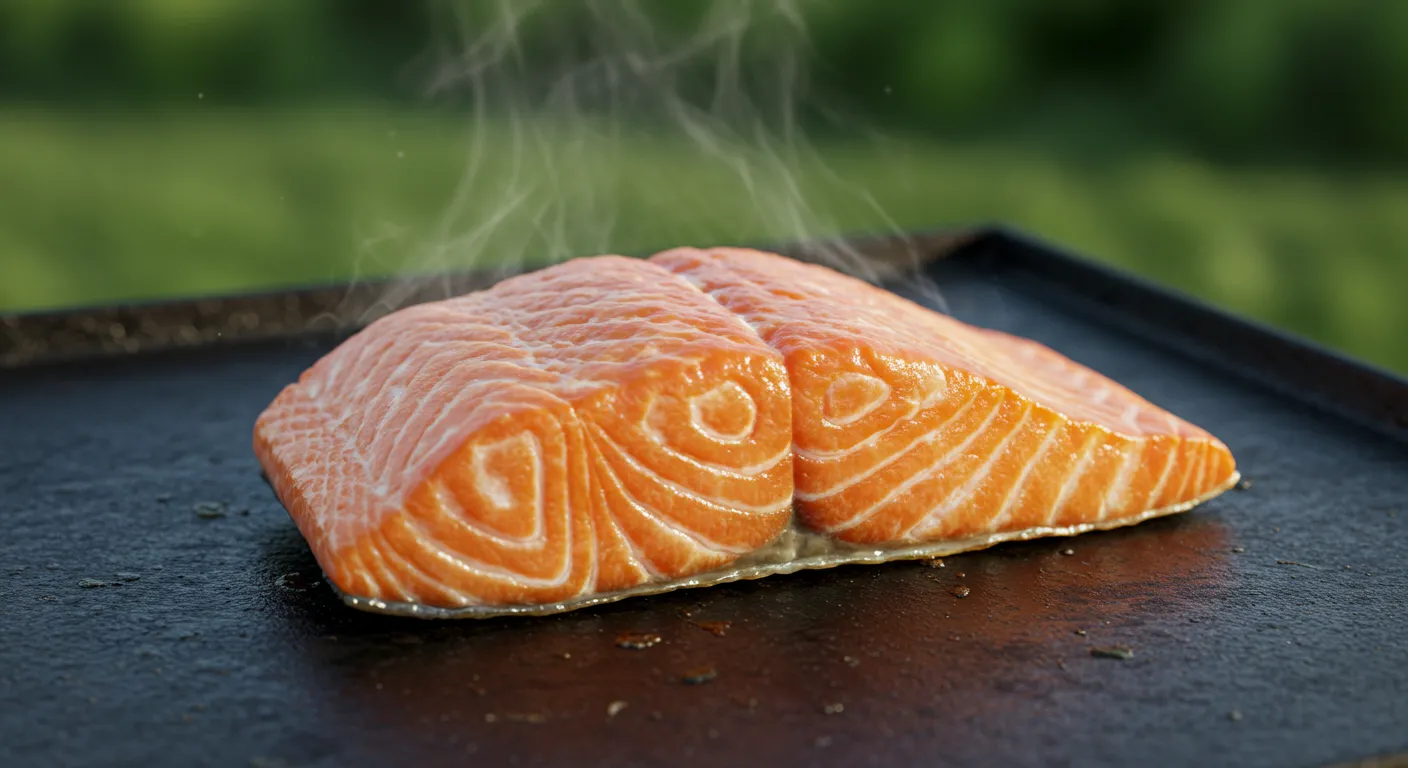
Perfect Blackstone Salmon: Easy Griddle Recipe & Expert Tips
Introduction Cooking salmon on a Blackstone griddle is a game-changing technique that combines the rich flavor of this nutritious fish with the convenience and…

The Ultimate Blackstone Hibachi Recipe: Master Japanese Steakhouse Flavors at Home
Are you yearning for the sizzling excitement and mouthwatering flavors of a Japanese steakhouse without the hefty price tag? Look no further! Our comprehensive…